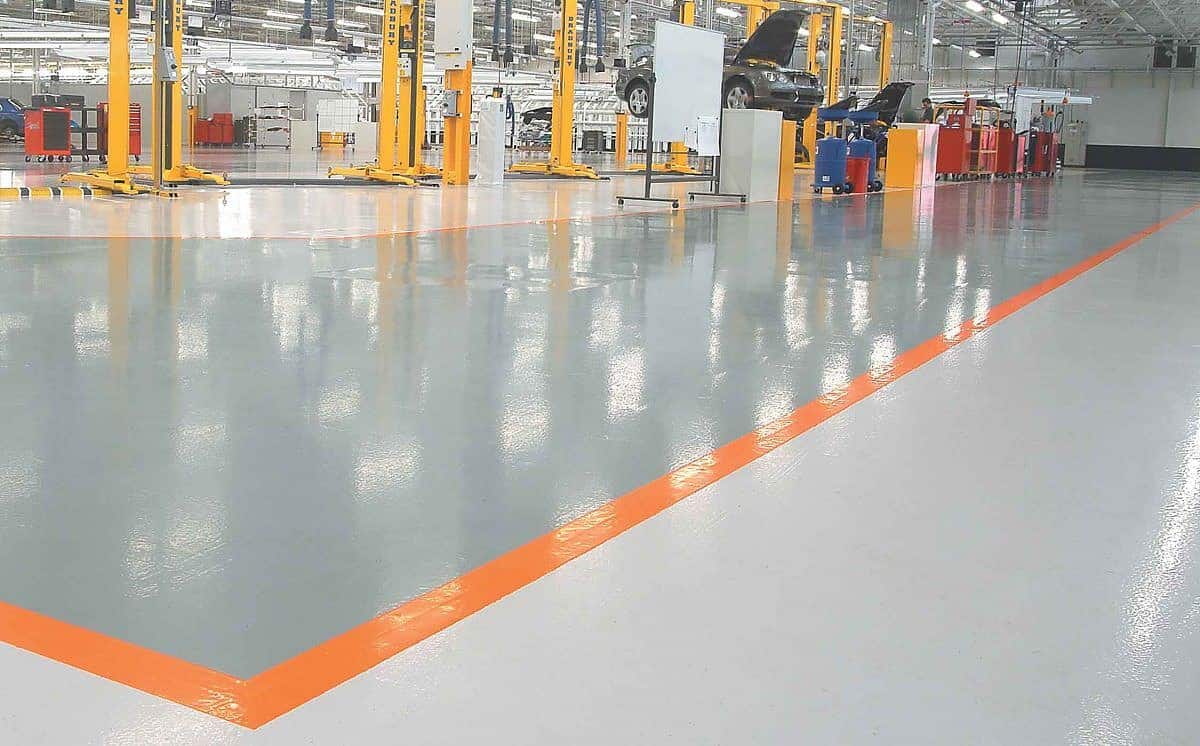
Anti-slip epoxy is an effective solution for creating a non-slip surface on floors, especially in areas prone to moisture or spills. However, applying anti-slip epoxy to larger areas can be challenging, and traditional epoxy may not provide enough traction. That’s where “Walk-a-Sured” comes in. In this blog post, we’ll explore how to apply anti-slip epoxy to larger areas using “Walk-a-Sured.”
The Importance of Anti-Slip Epoxy
Anti-slip epoxy is essential in areas where slips and falls can occur, such as high-traffic areas, industrial settings, and outdoor spaces. It creates a non-slip surface that provides traction, even when wet or oily. Traditional epoxy coatings may not provide enough grip, leading to slips and falls. Anti-slip epoxy is a must-have to ensure a safe environment.
Challenges of Applying Anti-Slip Epoxy to Larger Areas
Applying anti-slip epoxy to larger areas can be challenging, especially with traditional epoxy coatings. The process is time-consuming and requires a skilled hand to ensure a consistent application. Additionally, traditional epoxy coatings may not provide enough traction for larger areas, leading to slip hazards.
Using “Walk-a-Sured” for Anti-Slip Epoxy on Larger Areas
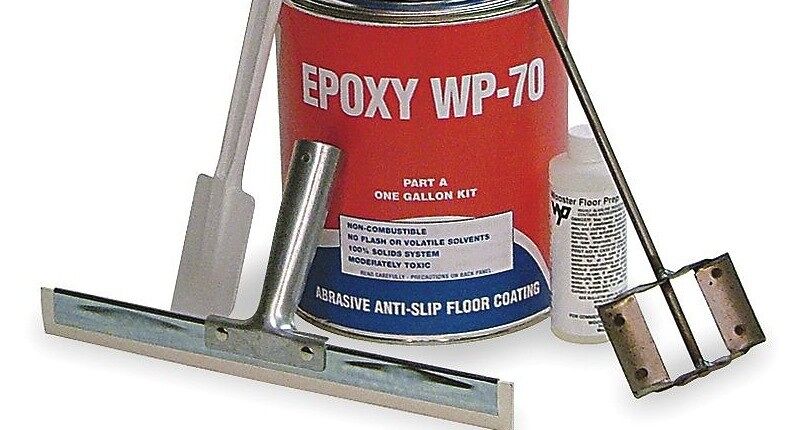
“Walk-a-Sured” is a unique anti-slip epoxy solution that is specifically designed for larger areas. It provides a non-slip surface that’s easy to apply and provides superior traction. Here’s how to use “Walk-a-Sured” for anti-slip epoxy on larger areas:
Surface Preparation: Like with any epoxy coating, proper surface preparation is crucial. The surface must be clean, dry, and free of any dirt, debris, or grease.
Mixing the Product: Follow the manufacturer’s instructions for mixing the product. Typically, it’s a two-part system that requires mixing the resin and hardener.
Applying the Product: “Walk-a-Sured” can be applied using a roller or squeegee. Apply the first coat, ensuring that it’s spread evenly across the surface. Allow it to dry according to the manufacturer’s instructions.
Applying the Second Coat: After the first coat has dried, apply a second coat in the same manner as the first. This will ensure that there’s enough traction on the surface.
Allow to Cure: “Walk-a-Sured” typically requires 24 hours to cure fully. During this time, ensure that the surface remains clean and dry.
By using “Walk-a-Sured” for anti-slip epoxy on larger areas, you can ensure a safe and non-slip surface. The product provides superior traction, even in high-traffic areas, and is easy to apply. When using “Walk-a-Sured,” it’s crucial to follow the manufacturer’s instructions carefully and allow it to cure fully before using the surface.
Anti-slip epoxy is essential for creating a non-slip surface on floors, especially in larger areas. Traditional epoxy coatings may not provide enough traction, leading to slip hazards. “Walk-a-Sured” is a unique anti-slip epoxy solution that’s specifically designed for larger areas. It provides superior traction and is easy to apply. When using “Walk-a-Sured,” proper surface preparation and following the manufacturer’s instructions are crucial. By using “Walk-a-Sured,” you can ensure a safe and non-slip surface for all.
